Send bulk emails using Mailgun and serverless Javascript hooks

Email remains the top communication tool for businesses. Either, if you need to create simple direct emails messages, or schedule templated bulk messages to customers - we all need flexible tools to communicate effectively with our customers.
This blog post shows how you can create a serverless background application for sending bulk HTML emails using the popular Mailgun SaaS.

This blog post also demonstrates some useful Codehooks concepts, such as background cron jobs, message queues, NoSql database, key-value store and secret environment variables.
Read on to learn more about effective email processing with Mailgun and Codehooks.
Quick preview: example application usage
Our example application runs in the background and monitors a mailing list (data collection) and sends an email to each contact in the list using a HTML template. New entries to the mailing list are POST'ed via a REST API endpoint or imported via the CLI tool. For scalability and resilience all emails are processed with the Codehooks message queue and serverless function workers.
After deploying the application, we can use the CLI to import a CSV file with mail addresses to the application collection mailinglist.
coho import --filepath ./mailinglist.csv --collection mailinglist
The running background process (cron job) picks up the new entries and sends each contact item to the message queue for processing by a worker function, which integrates with Mailgun to send the actual message.
We can monitor the process in realtime using the coho logs -f command shown below.
coho logs -f

dev 2022-09-27T20:30:00.717Z  Email process starting 2 contacts
dev 2022-09-27T20:30:10.039Z  [email protected] 1
dev 2022-09-27T20:30:11.133Z  Mailgun reciept <[email protected]>
dev 2022-09-27T20:30:11.324Z  [email protected] 1
dev 2022-09-27T20:30:12.449Z  Mailgun reciept <[email protected]>
Now that we understand the basic use case of this application, let's go ahead and see how it's made, and how you can create and modify it yourself.
Get a Mailgun account
If you haven't already, navigate to the Mailgun website and create a new account, it's free to sign up. Follow the instructions, and notice the domain, API-url and API-key information needed in this article. To integrate the Codehooks serverless function we'll use the Mailgun REST API.
With a Mailgun account ready, we can go forward with creating a new project for our Codehooks application.
Create a new Codehooks project
First we need to create a new Codehooks project for the source code and a deployment endpoint. You can clone the GitHub project, like in the example code below, or you can create the source files yourself.
git clone https://github.com/RestDB/codehooks-io-examples.git

cd codehooks-io-examples/mailgun

coho init
Then we install the neccessary libraries codehooks-js, node-fetch and form-data.
npm i codehooks-js form-data node-fetch --save
After the initialization your project directory should contain these files.
mailgun
├── README.md
├── config.json
├── index.js
├── mailinglist.csv
├── node_modules
├── package-lock.json
├── package.json
└── template.js
Email HTML template
In this example we'll be using a standard HTML email template, actually this is similar to the ones we use in Codehooks for email communication.
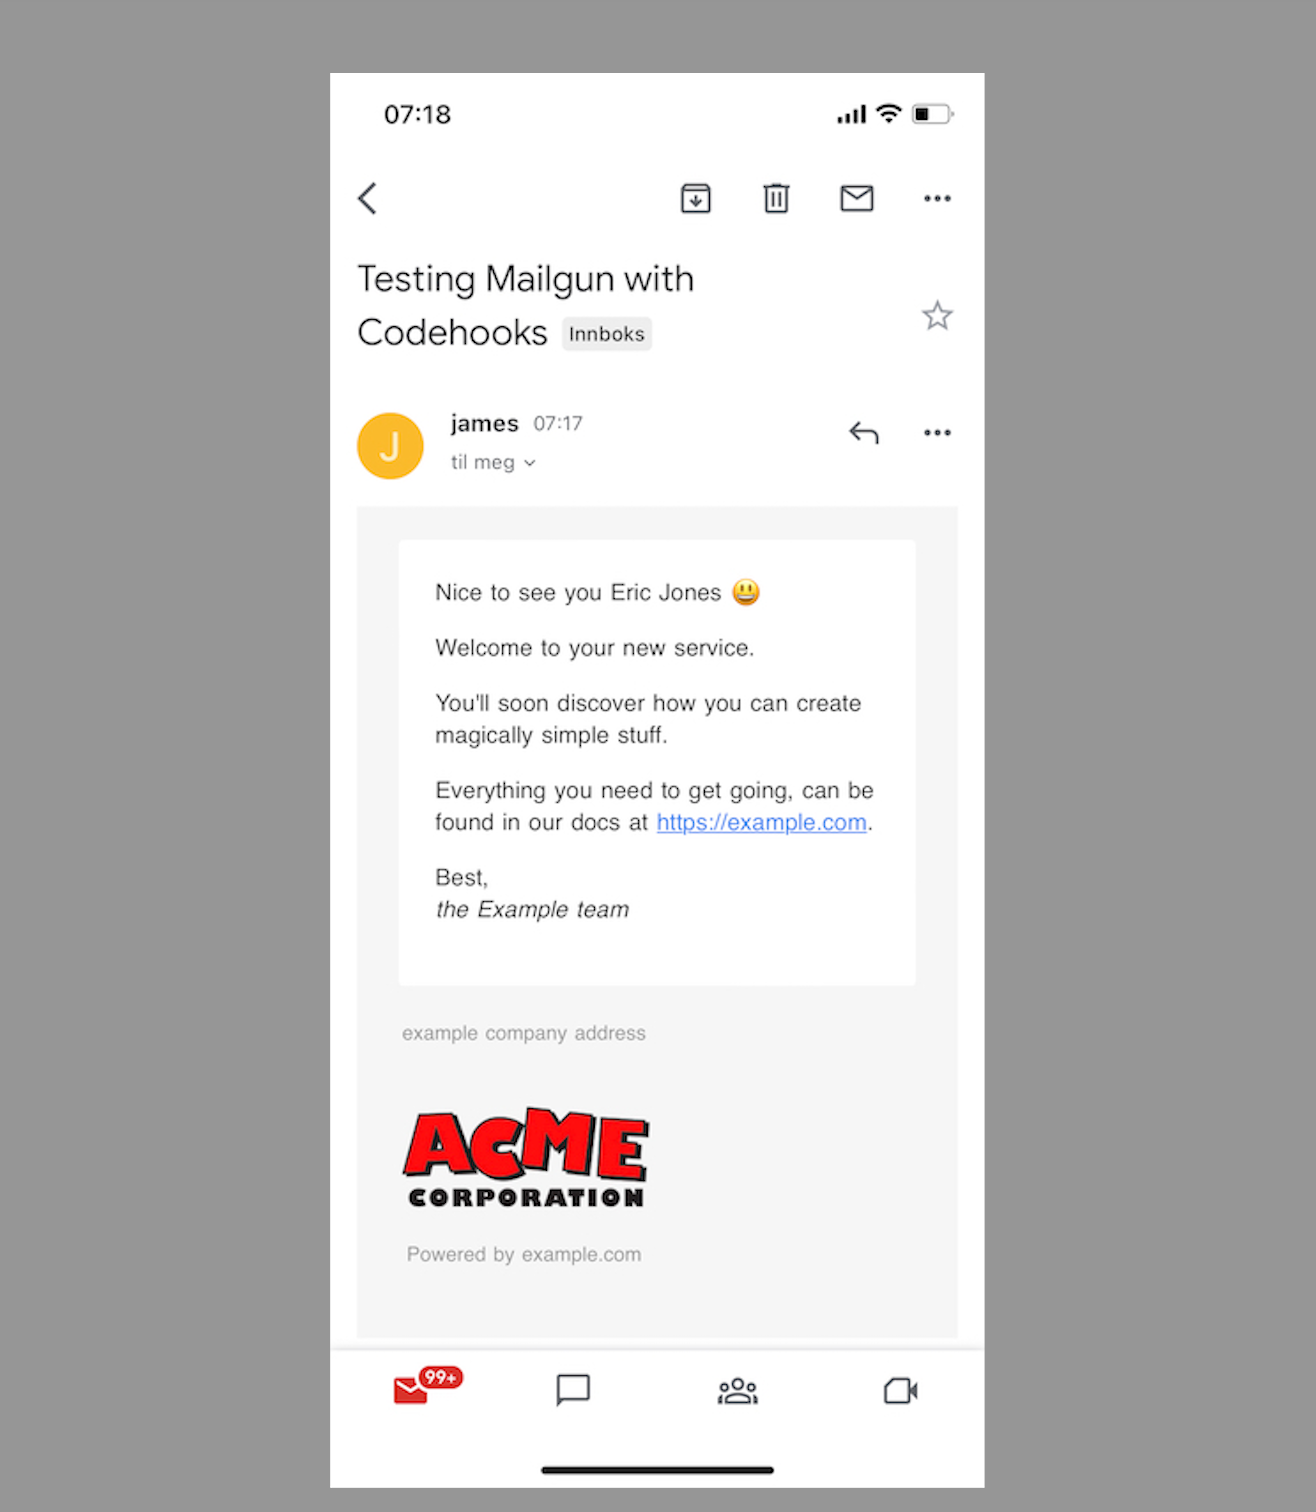
The template.js file contains the HTML code and logic to merge email addresses and contact data into an email message that looks good on both mobile and desktop. Check out the source code to change it to your needs.
The example screenshot below shows the email template in action.
Send email with the Mailgun REST API
index.js contains all serverless functions and logic for the application. The senOneEmail function implements our Mailgun integration with two parameters: emailaddress and name.
// Send mail with Mailgun REST API
async function sendOneEmail(emailaddress, name) {
  // create an email as form data
  const form = new FormData();
  form.append('from', '[email protected]');
  form.append('to', emailaddress);
  form.append('subject', 'Testing Mailgun with Codehooks');
  form.append('html', createWelcomeHTML({ emailaddress, name }));
  // Mailgun api endpoint
  const url = `https://${MAILGUN_URL}/v3/${process.env.MAILGUN_DOMAIN}/messages`;
  // Mailgun credentials must be base64 encoded for Basic authentication
  const credentials = Buffer.from(`api:${process.env.MAILGUN_APIKEY}`).toString(
    'base64'
  );
  // POST REST API with the email form data
  const resp = await fetch(url, {
    method: 'POST',
    headers: {
      Authorization: `Basic ${credentials}`,
    },
    body: form,
  });
  // handle response errors or OK data
  if (resp.status <= 201) {
    return res.json();
  } else {
    throw new Error(`${resp.status} ${resp.statusText}`);
  }
}
Create environment variables as secrets
It is important to protect your private secrets used to access the Mailgun API.
The Codehooks CLI command coho set-env VARIABLENAME xxyyzz --encrypted can create encrypted enviroment variables that you can use in your code as process.env.VARIABLENAME, without exposing their content.
The CLI command shown below shows how we have added the secret keys for our application.
coho set-env MAILGUN_APIKEY XXXX --encrypted
coho set-env MAILGUN_DOMAIN XXXX --encrypted
You can also set these environment variables using the account UI.
REST API to POST email data
As shown in the initial example, you can use the CLI to import data to the mailinglist collection. But we also need an API to do the same.
In Codehooks this is done with the app.post hook, which creates a serverless function that is bound to a network endpoint route.
Use the coho info command to see your project's network endpoint and API tokens.
In our example it's: https://mailgun-xyz1.api.codehooks.io/dev/email
The API receives a POST body with email data that is inserted into the mailinglist collection, which again is processes by the background job and queue.
// REST API serverless function
app.post('/email', async (req, res) => {
  const conn = await Datastore.open();
  // add contact to mailinglist data collection
  const doc = await conn.insertOne('mailinglist', req.body);
  // return new document to client
  res.status(201).json(doc);
});
Example curl command to test the REST API is shown below.
curl -X POST \
  'https://mailgun-xyz1.api.codehooks.io/dev/email' \
  --header 'x-apikey: c748466e-xxxx-yyyy-zzzz-d8a10ae16b24' \
  --header 'Content-Type: application/json' \
  --data-raw '{
  "emailaddress": "[email protected]",
  "name": "Eric Jones"
}'
Background CRON job
Codehooks has built in support for background job processing, called Jobhooks.
In our application we schedule a new job that triggers our serverless function each 30th second ( with the cron expression */30 * * * * *).
The logic in this function queries the database for any unsent emails, and adds them to the queue in the same query (using the enqueueFromQuery awesome feature 😎). If you like, you can add more jobs with other schedules and email data for flexibility, Codehooks has many options.
// cron job serverless function to process unsent emails
app.job('*/30 * * * * *', async (req, res) => {
  try {
    const conn = await Datastore.open();
    // Check key-val store for the running flag
    const isRunning = await conn.get('running', { keyspace: 'emailprocess' });
    console.log(isRunning);
    // No process is running, start sending new emails
    if (isRunning === null) {
      // Add all emails that is not sent to queue
      const job = await conn.enqueueFromQuery(
        'mailinglist',
        {
          $or: [
            { attempt: { $gt: 1, $lt: 3 } },
            { attempt: { $exists: false } },
          ],
        },
        'emailQueue'
      );
      if (job.count > 0)
        console.log('Email process starting', job.count, 'contacts');
    }
    res.end();
  } catch (ex) {
    console.error(ex);
    res.end();
  }
});
Worker Queue
The built in Worker queue subscribes to messages published on a specific topic, in this application the topic is emailQueue.
Messages contain email contacts from the data collection.
Each message is processed and sent via the Mailgun function.
If it fails, we increase the attempts property using the $inc operator.
This is used to retry up to 3 times before giving up.
// Queue topic serverless worker function
app.worker('emailQueue', async (req, res) => {
  const conn = await Datastore.open();
  try {
    // signal that we are processing emails
    await conn.set('running', new Date().toISOString(), {
      ttl: 1000 * 10,
      keyspace: 'emailprocess',
    });
    const { emailaddress, name } = req.body.payload;
    // inc attempt counter
    const entry = await conn.updateOne('mailinglist', req.body._id, {
      $inc: { attempt: 1 },
    });
    // log email and attempt
    console.log(entry.emailaddress, entry.attempt);
    // call Mailgun function
    const reciept = await sendOneEmail(emailaddress, name);
    // print Mailgun response
    console.log('Mailgun reciept', reciept.id);
    // update database object with sent timestamp
    await conn.updateOne('mailinglist', req.body._id, {
      emailSent: new Date().toISOString(),
    });
    // finish queue worker
    res.end();
  } catch (ex) {
    // inc attempt counter
    console.error('Send mail failed', ex);
    const entry = await conn.updateOne('mailinglist', req.body._id, {
      $inc: { attempt: 1 },
    });
    res.end();
  }
});
Inspect the mailinglist data collection
At any time you can inspect your data collections using the CLI command coho query. From our example we see that all emails is sent ok on the first attempt.
coho query mailinglist --pretty

{
  emailaddress: '[email protected]',
  name: 'Joe Ross',
  _id: '18384e9de35-03ra2l4a3ul3od',
  attempt: 1,
  emailSent: '2022-09-28T16:24:39.598Z'
}
{
  emailaddress: '[email protected]',
  name: 'Jane Ross',
  _id: '18384e9de35-4cmj21pyo4tjd4',
  attempt: 1,
  emailSent: '2022-09-28T16:24:39.719Z'
}
Summary
Although Mailgun has their own excellent Bulk email service, this blogpost has provided you with some useful examples of how you can create a powerful backend service with only a little JavaScript code and the codehooks.io serverless Node.js backend platform.
Key takeaways:
- Integration with Mailgun can be easy and fun
- Serverless APIs, jobs and queues is a powerful combination
- The Codehooks CLI can be used to import CSV data and complement the API
Also check out the documentation to get started using codehooks.io to create your own serverless backend API and microservices.