How to authenticate a React app against a serverless backend API with Auth0
Most web applications and mobile apps need a way for users to authenticate themselves so that the backend APIs and database can access data in the context of the user. One of the leading service providers within authentication services is Okta Auth0. They provide a very powerful platform and a ton of features for creating optimal user login experiences.
In this blogpost, we'll show how you can easily authenticate codehooks.io serverless API routes using only a few lines of code together with the public signing key/JWKS endpoint method of validating JWT tokens. Don't know what that is? Don't worry. Read on 👉. We have used a React single-page example from Auth0 here, but it should work just fine with their other examples as well (Angular, JavaScript, Vue).
We'll go through these steps in this blogpost:
- Sign up / fetch the demo application from Auth0
- Create and set up a codehooks.io space which contains the database and serverless code
- Add an authentication middleware function to capture and make user information available to all serverless API routes
- Modify the Auth0 demo application to use codehooks.io as an authenticated backend
- Walk through of the demo application
Sign up / fetch the demo application from Auth0
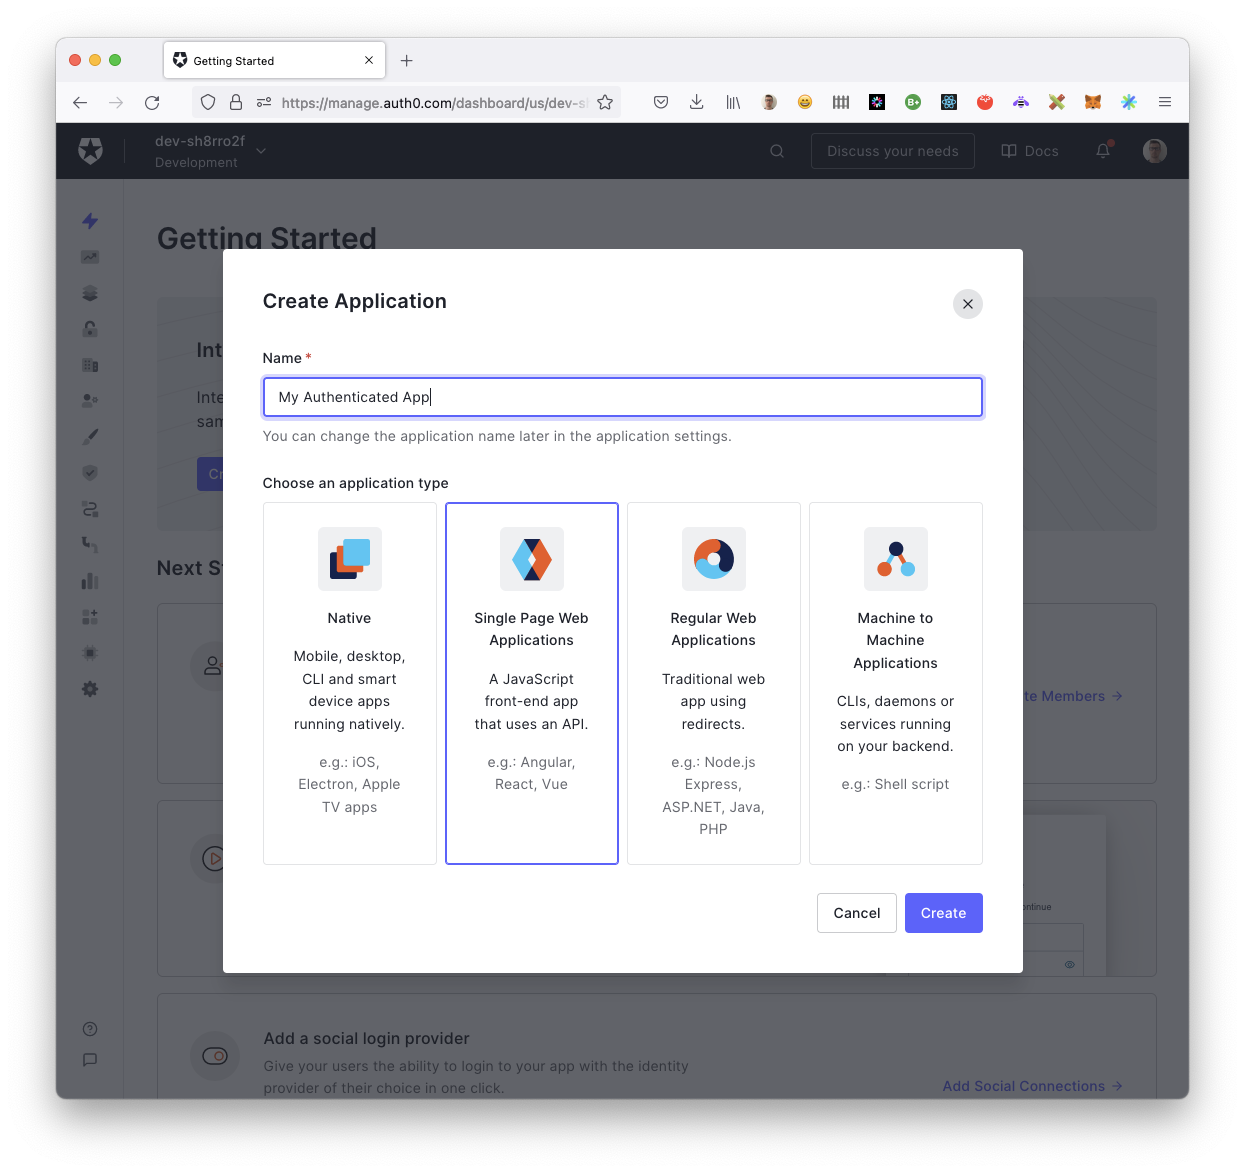
To get started you first need to sign up with Auth0. The next step is to create an Auth0 application. Choose the "Single Page Web Applications" type as shown in the image below.
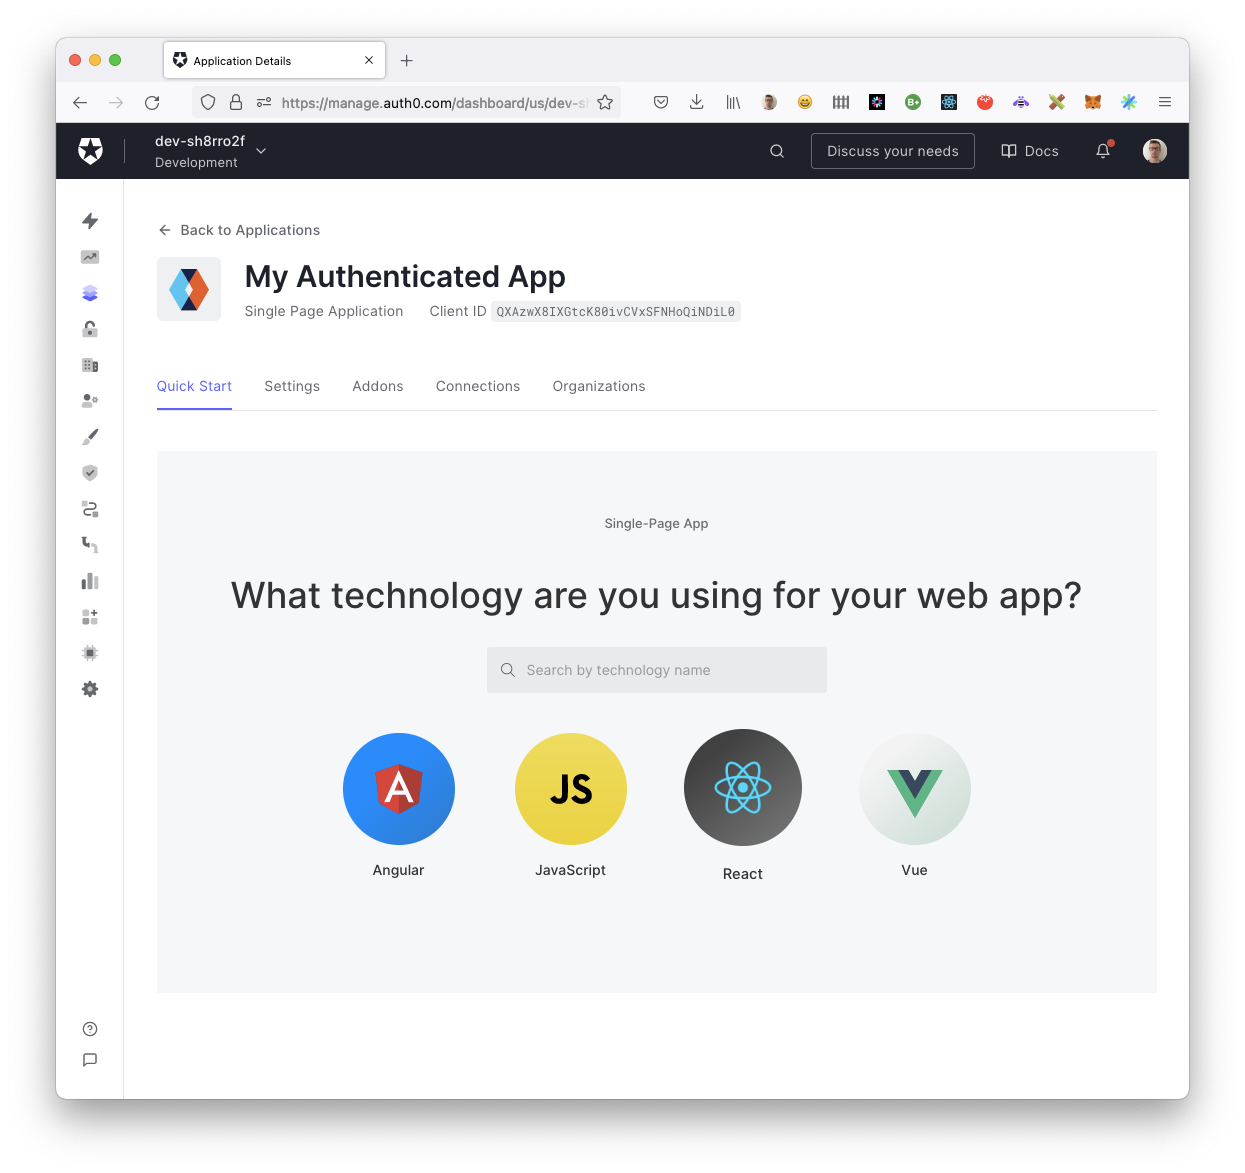
Choose your favorite web application front-end framework. We chose React for this blog post, but it should not matter.
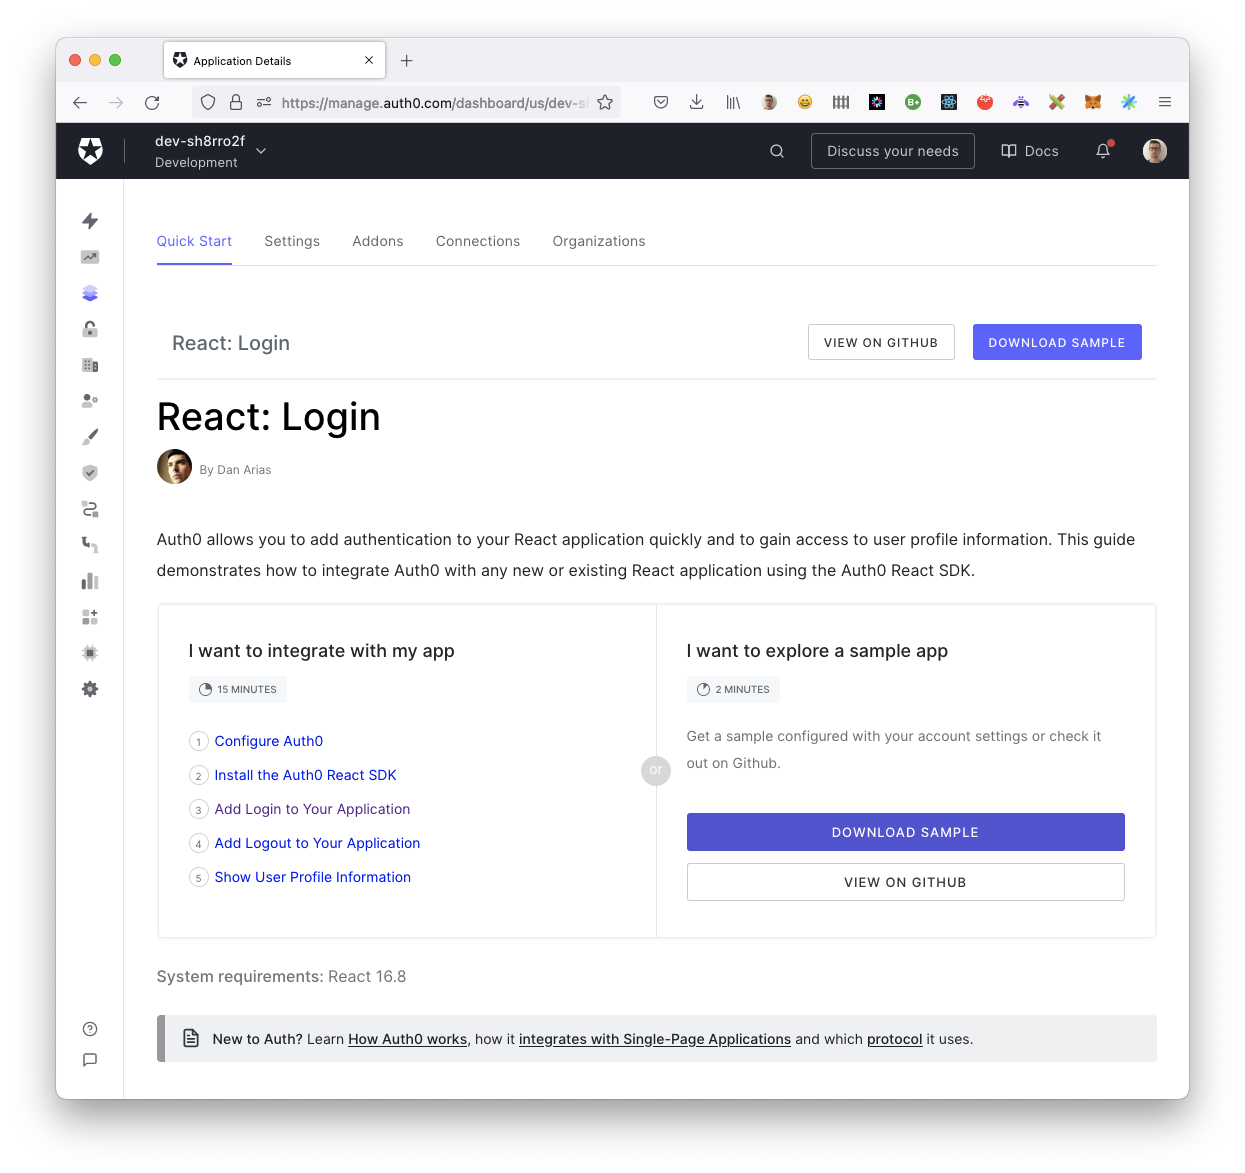
Download the pre-configured sample code by clicking the "Download sample" button. By following the steps presented by Auth0, you should now have an application where you can sign up and log in and perform an authenticated call to a local Node.js Express server provided in the example.
The frontend is good for now, let's create a codehooks backend to replace the local one!
Create a Codehooks serverless backend API with the database and serverless code
To host our authenticated serverless API we create a new Codehooks project. If you're new to Codehooks.io you can read more about getting started in the docs.
From the command line using the CLI we create a new project with the coho create command:
coho create mybackend

cd mybackend
When we create a new project, codehooks automatically adds a "dev" space which consists of code + database + settings.
Before we continue with adding and deploying the backend code, we need to set up authentication.
Setting up our serverless backend authentication with a JWKS URL
All codehooks.io spaces can authenticate API routes by simply setting a special JWKS URL endpoint. JWT tokens in incoming requests will then be verified using a public key from this endpoint.
To set this endpoint for a space/datastore, we can use the CLI (docs) or the admin UI as shown below. When a JWKS endpoint is set for a space, Codehooks will check ALL routes for a valid JWT token and try to validate it using this endpoint.
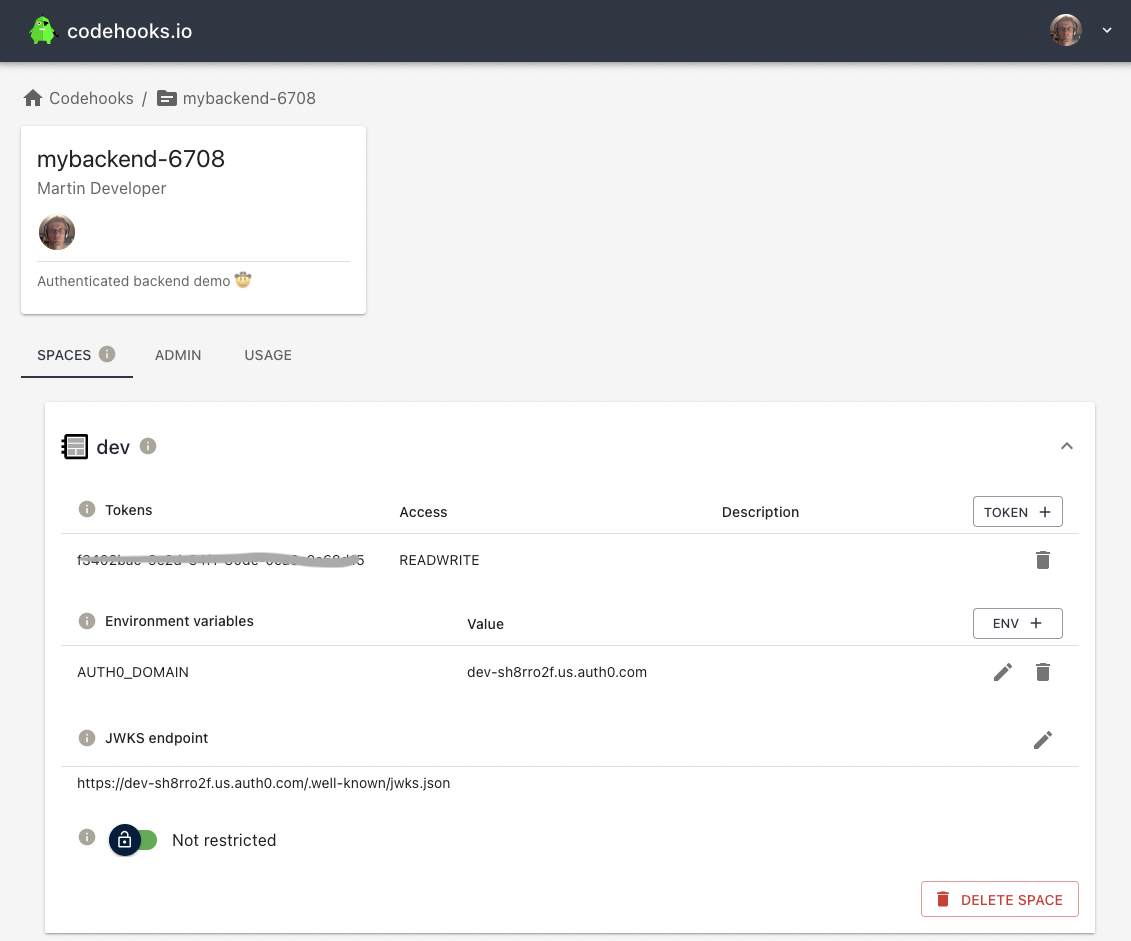
In the screenshot above, you see that we also have set an environment variable AUTH0_DOMAIN. We are going to access this from our serverless code like this process.env.AUTH0_DOMAIN.
You can find the name of the domain under "Settings/Basic Information" of your application in Auth0 or in the downloaded React example in the file auth_config.json.
For our example, it looks like this:
{
  "domain": "dev-sh8rro2f.us.auth0.com",
  "clientId": "QXAzwX8IXGtcK80ivCVxSFNHoQiNDiL0",
  "audience": "https://codehooksbackend"
}
In Auth0, the JWKS endpoint is just "https://" + domain + "/.well-known/jwks.json.
Adding and deploying code for the authenticated serverless backend
Replace the contents of the index.js source file generated from the coho create mybackend command with the following code.
/*
 * Codehooks code for fetching user info for all routes using Auth0 authentication
 */

import { app, Datastore } from 'codehooks-js';
import fetch from 'node-fetch';

// middleware to get Auth0 user info in request
// all routes will now have access to user info in req.user

const userProfileFromAuth0 = async (req, res, next) => {
  try {
    const { authorization } = req.headers;
    if (authorization) {
      const token = authorization.replace('Bearer ', '');
      const conn = await Datastore.open();

      // try to load user from codehooks.io key/value store
      const user = await conn.get(`token-${token}`, { keyspace: 'sessions' });

      // found in cache?
      if (user) {
        req.user = JSON.parse(user);
        return next();
      }

      // fetch user from Auth0 API
      const resp = await fetch(`https://${process.env.AUTH0_DOMAIN}/userinfo`, {
        headers: {
          Authorization: `Bearer ${token}`,
        },
      });
      req.user = await resp.json();

      // store in key/value store for twenty minutes
      conn.set(`token-${token}`, JSON.stringify(req.user), {
        keyspace: 'sessions',
        ttl: 1000 * 60 * 20,
      }); // ttl twenty minutes
    } else {
      return res.sendStatus(401);
    }
    next();
  } catch (error) {
    next(error);
  }
};

// intercept all routes with the user profile middleware function
app.use(userProfileFromAuth0);

// our API endpoint for the demo
app.get('/hello', async (req, res) => {
  const nickname = (req.user && req.user.nickname) || 'anonymous';
  const conn = await Datastore.open();
  const apicounter = await conn.incr('apicounter', 1); // increase a counter for each call
  res.json({
    message: `Hello ${nickname}`,
    user: req.user,
    now: new Date(),
    apicounter,
  });
});

// bind to serverless runtime
export default app.init();
The middleware function userProfileFromAuth0 fetches a users' profile from Auth0 and caches it to prevent extra calls to the their API. Since all codehooks spaces have a key/value datastore, it's quite easy and convenient to use this for caching in a serverless environment where caching in memory is not possible. The profile is then set as a new "user" property of the request (req.user), making it available to all downstream routes. As shown, we access it in the /hello route to return the profile and a custom message (Hello ${nickname}).
As we mentioned above, all routes in this project are already authenticated before it reaches our API because we've set the JWKS endpoint.
Before we can deploy our application we also need to add dependent NPM packages.
npm i codehooks-js -s
Next we can deploy the serverless API to the Codehooks cloud.
coho deploy
Project: mybackend-6708  Space: dev
Deployed Codehook successfully! 🙌
Modifying the JavaScript / React client code
In the React sample application we downloaded from Auth0, we need to replace a few lines in the ExternalApi.js file (in addition to adding some useful text and relabelling of a button and a menu).
const { apiOrigin = 'http://localhost:3001', audience } = getConfig();
is replaced by:
const { apiOrigin = 'https://mybackend-6708.api.codehooks.io', audience } =
  getConfig();
and
const response = await fetch(`${apiOrigin}/api/external`, {
  headers: {
    Authorization: `Bearer ${token}`,
  },
});
is replaced by:
const response = await fetch(`${apiOrigin}/dev/hello`, {
  headers: {
    Authorization: `Bearer ${token}`,
  },
});
The Auth0 React demo application
Let's quickly walk through the demo application in case you don't want to test it yourself 😏
The start page, which we deployed for free using Github Pages looks like this:
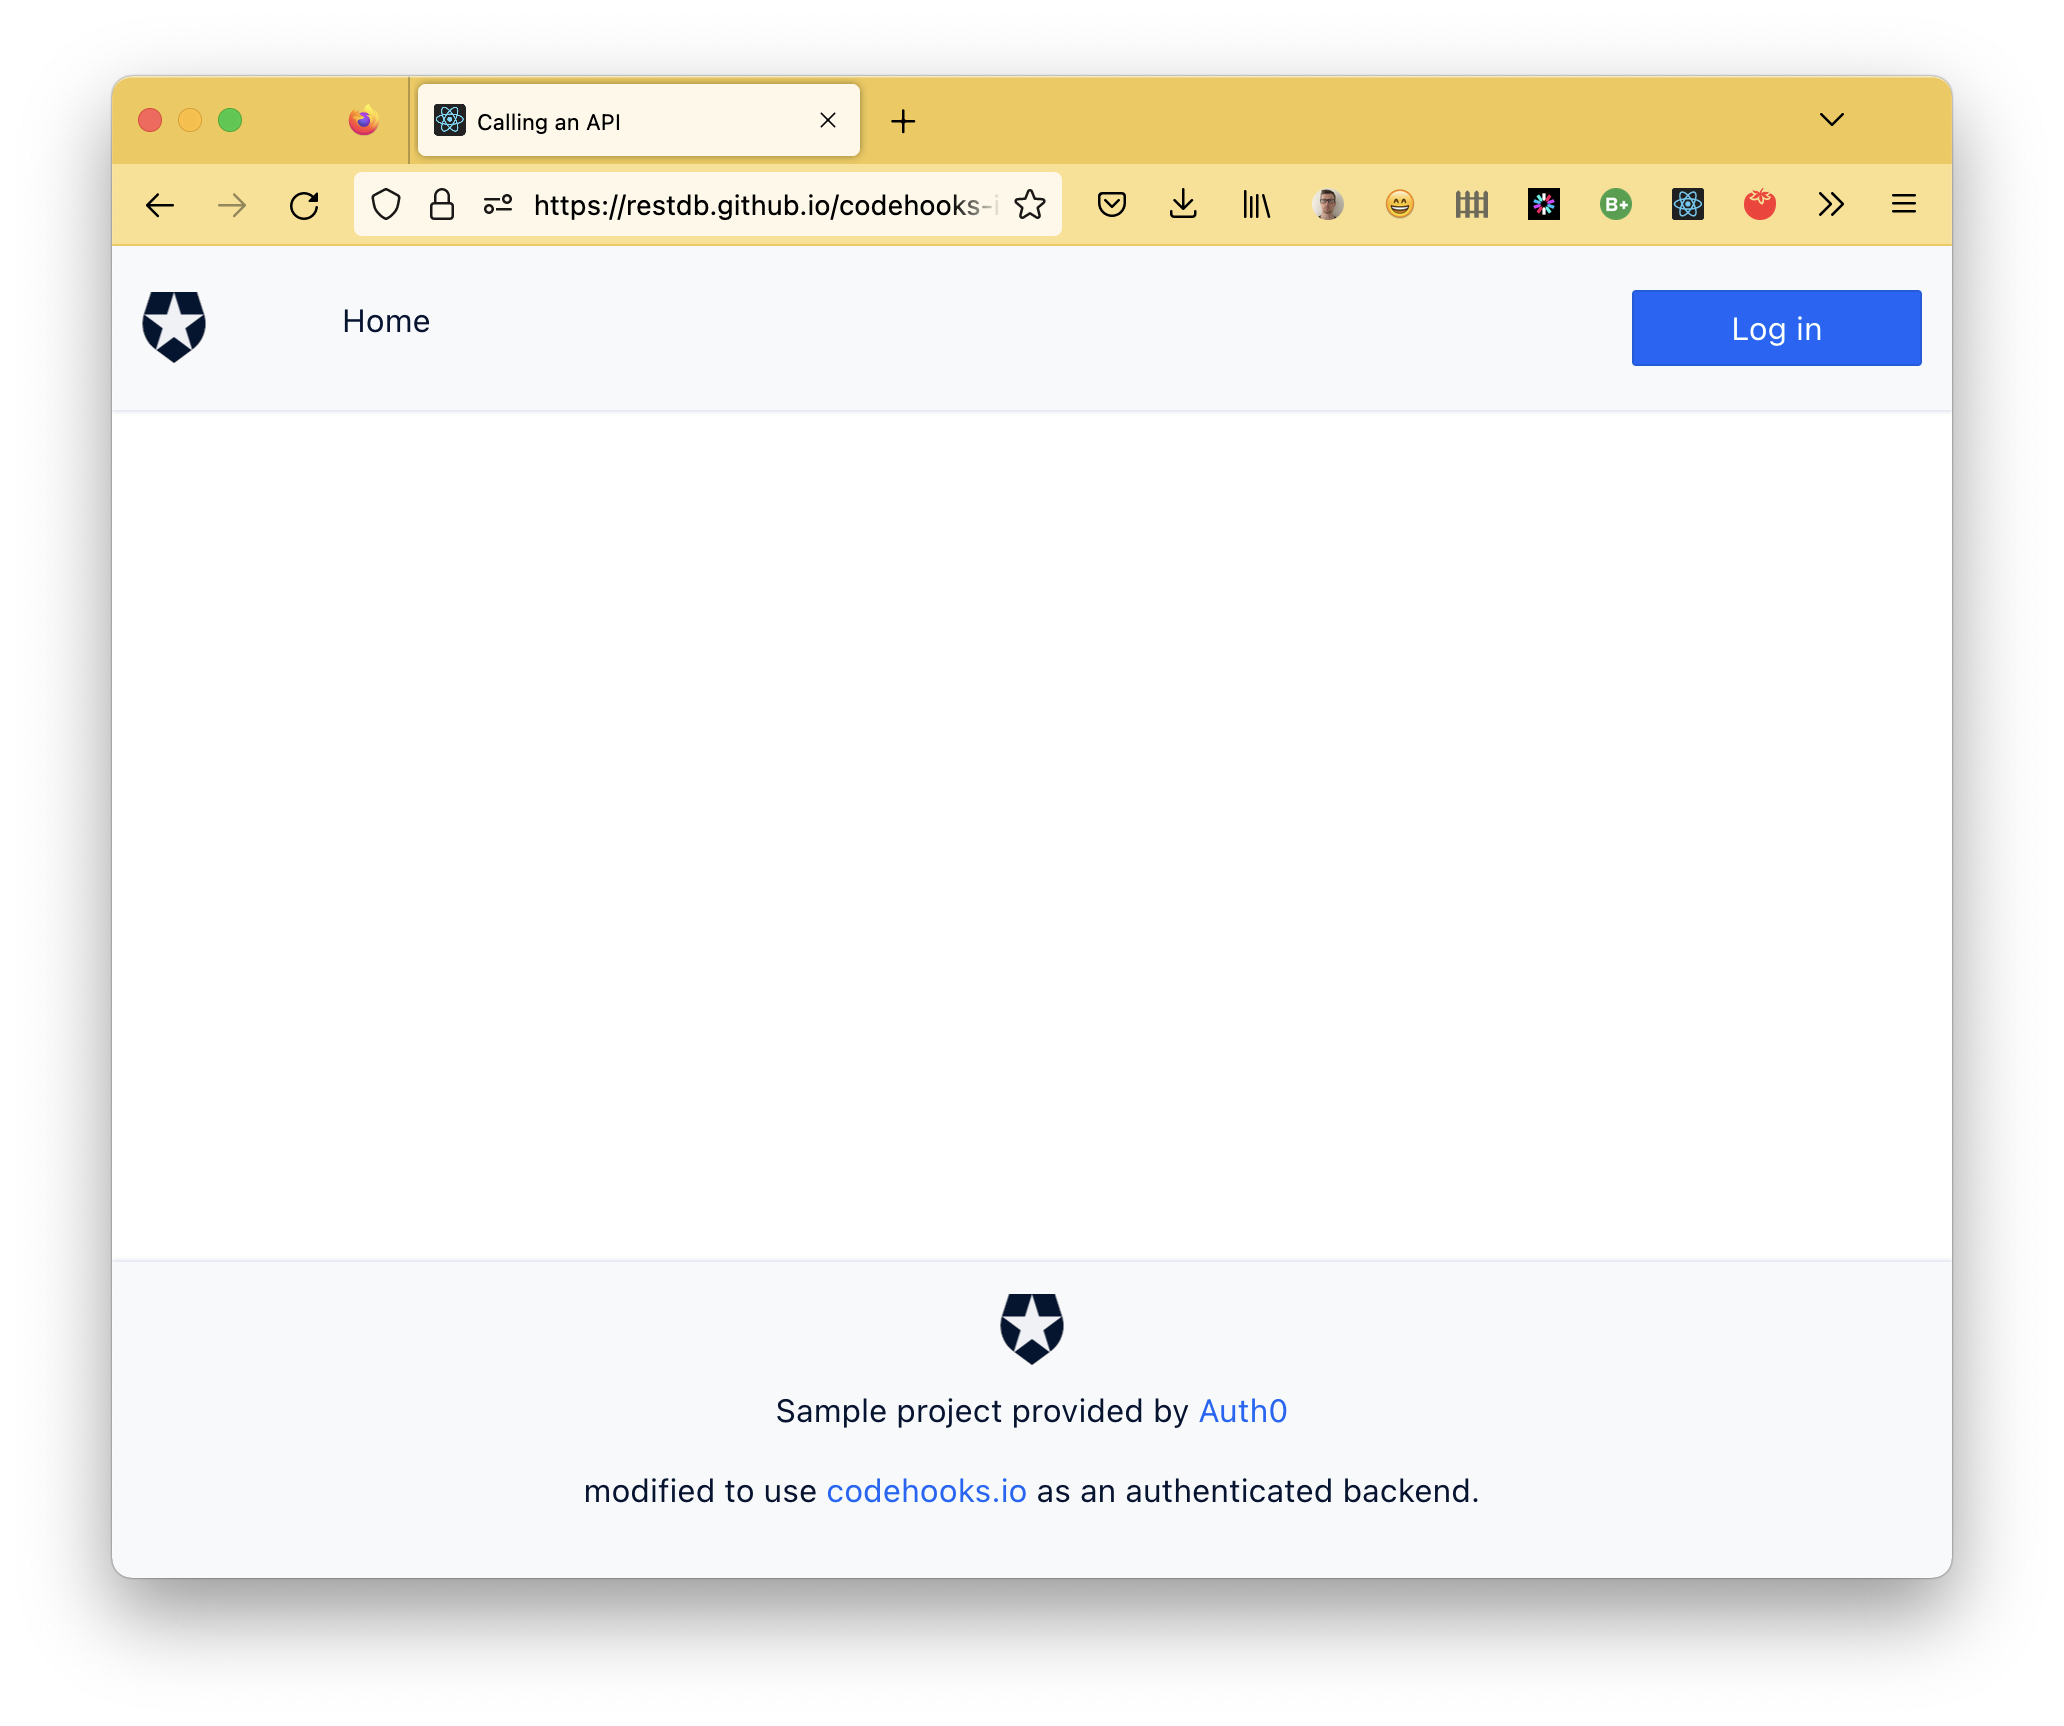
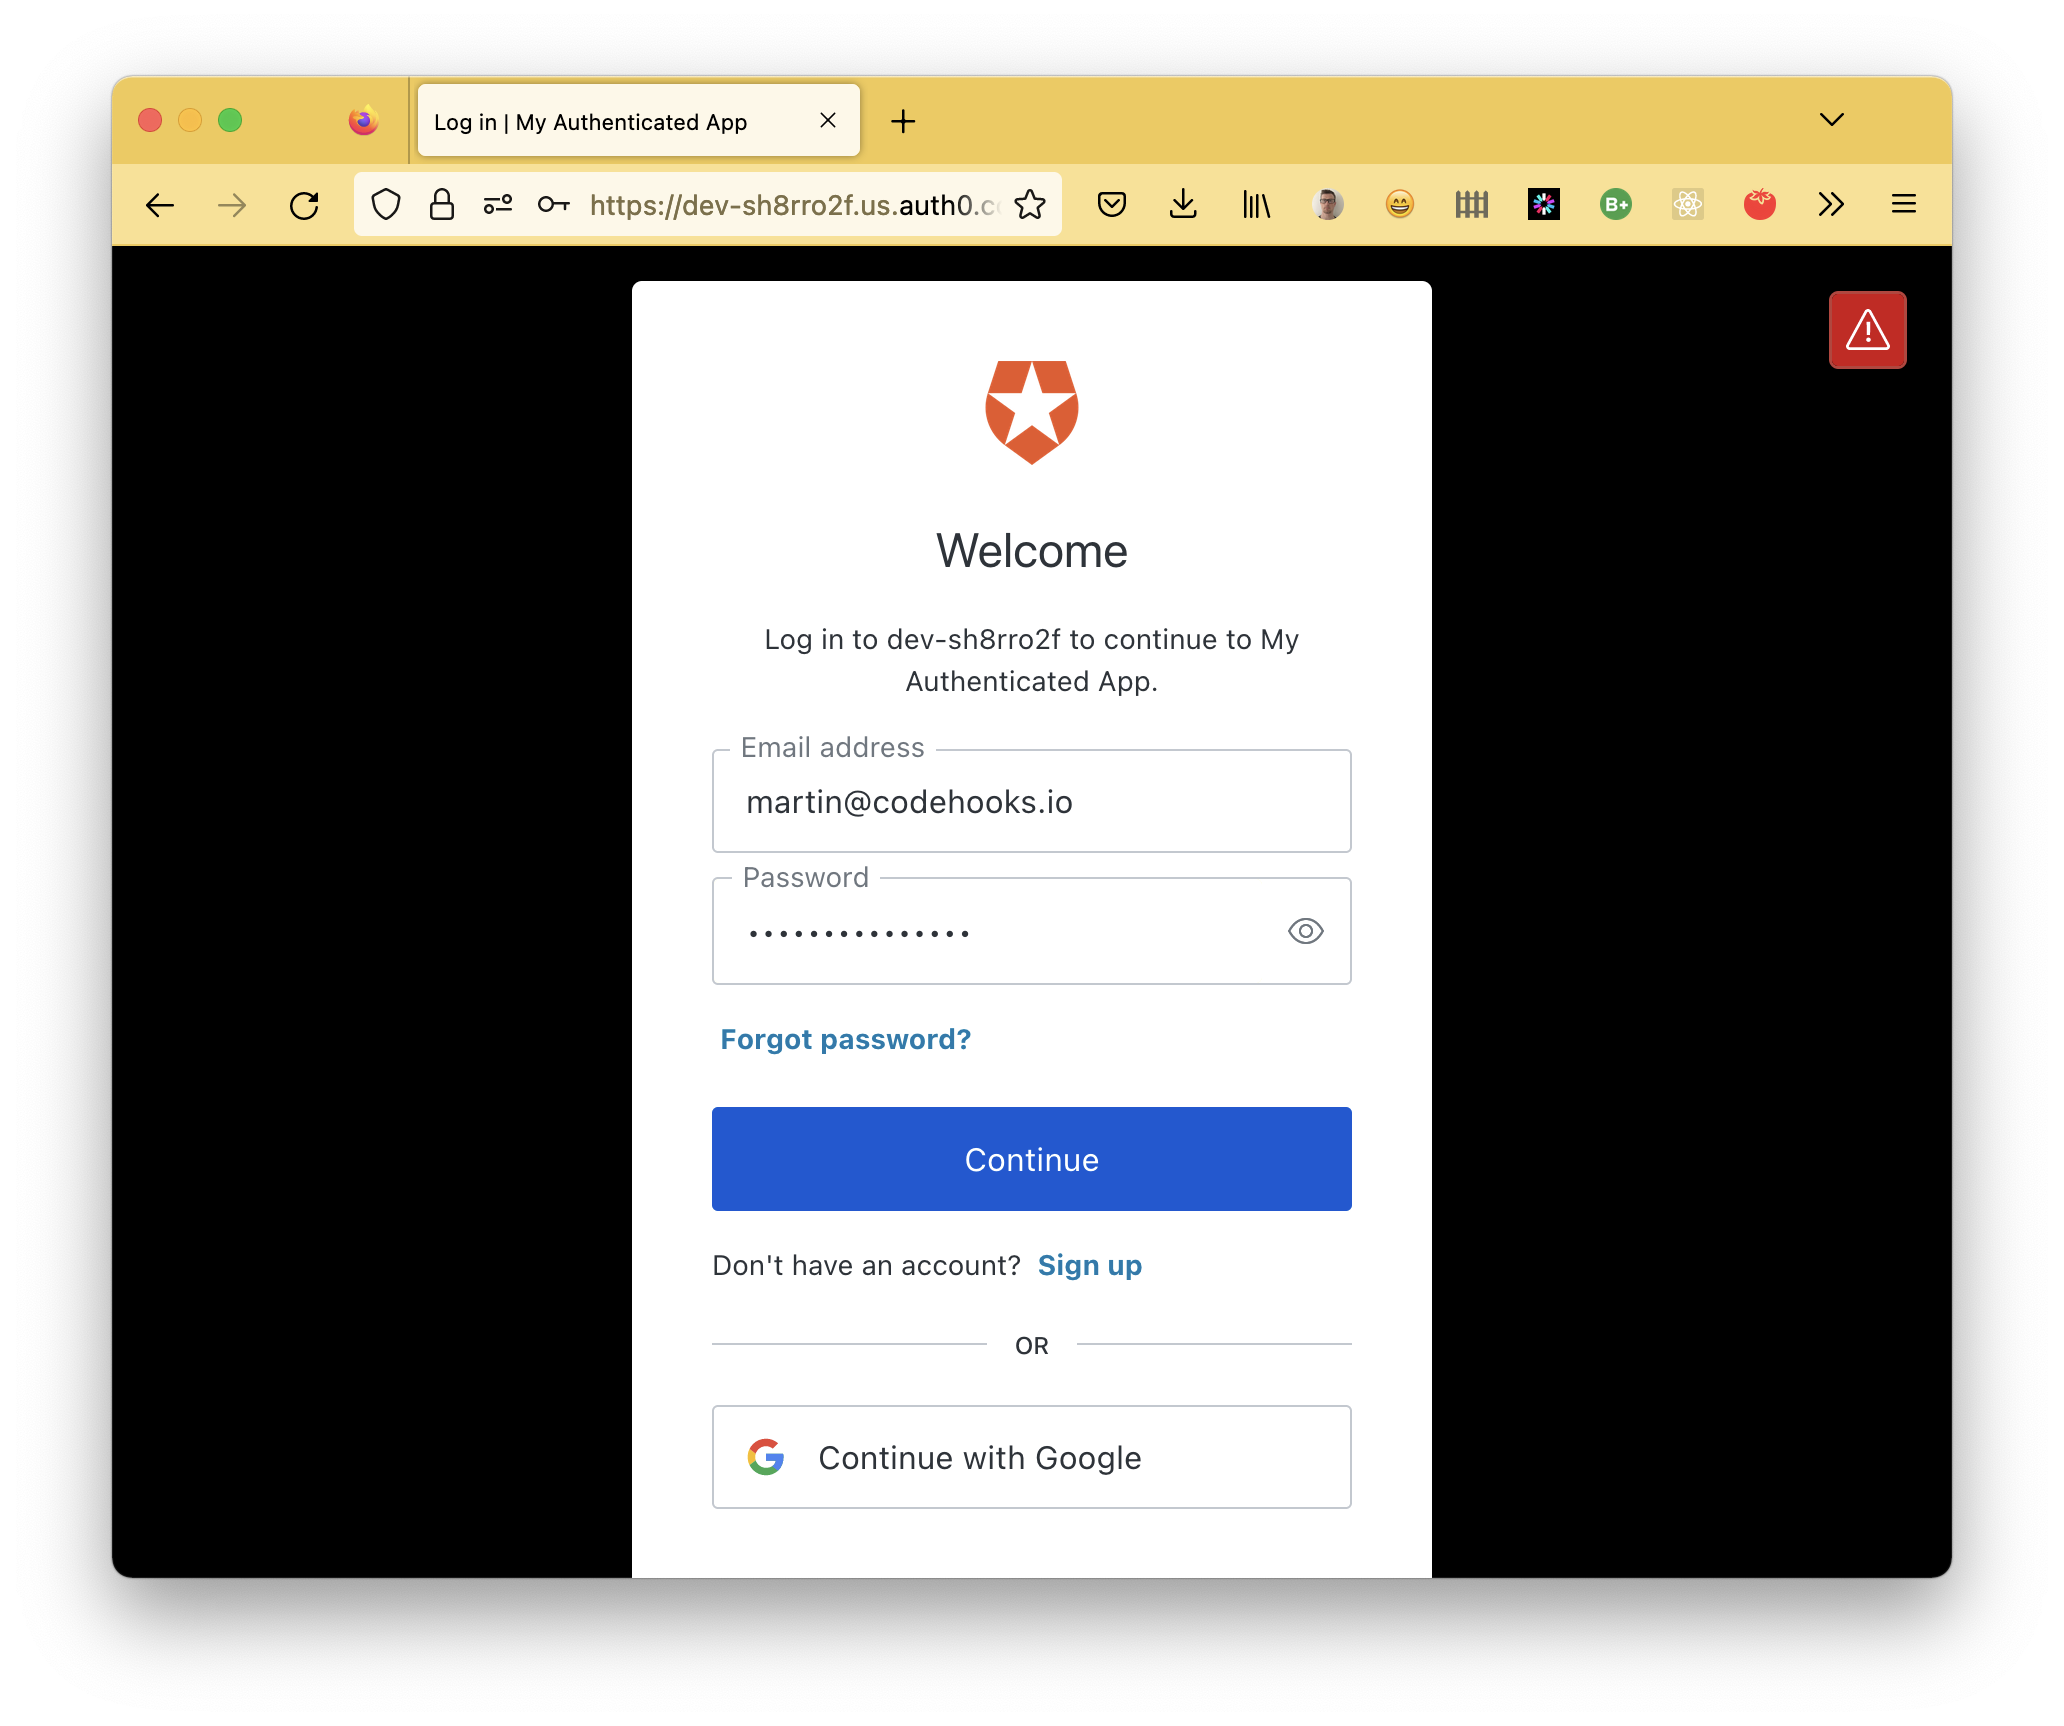
You can now sign up and log in.
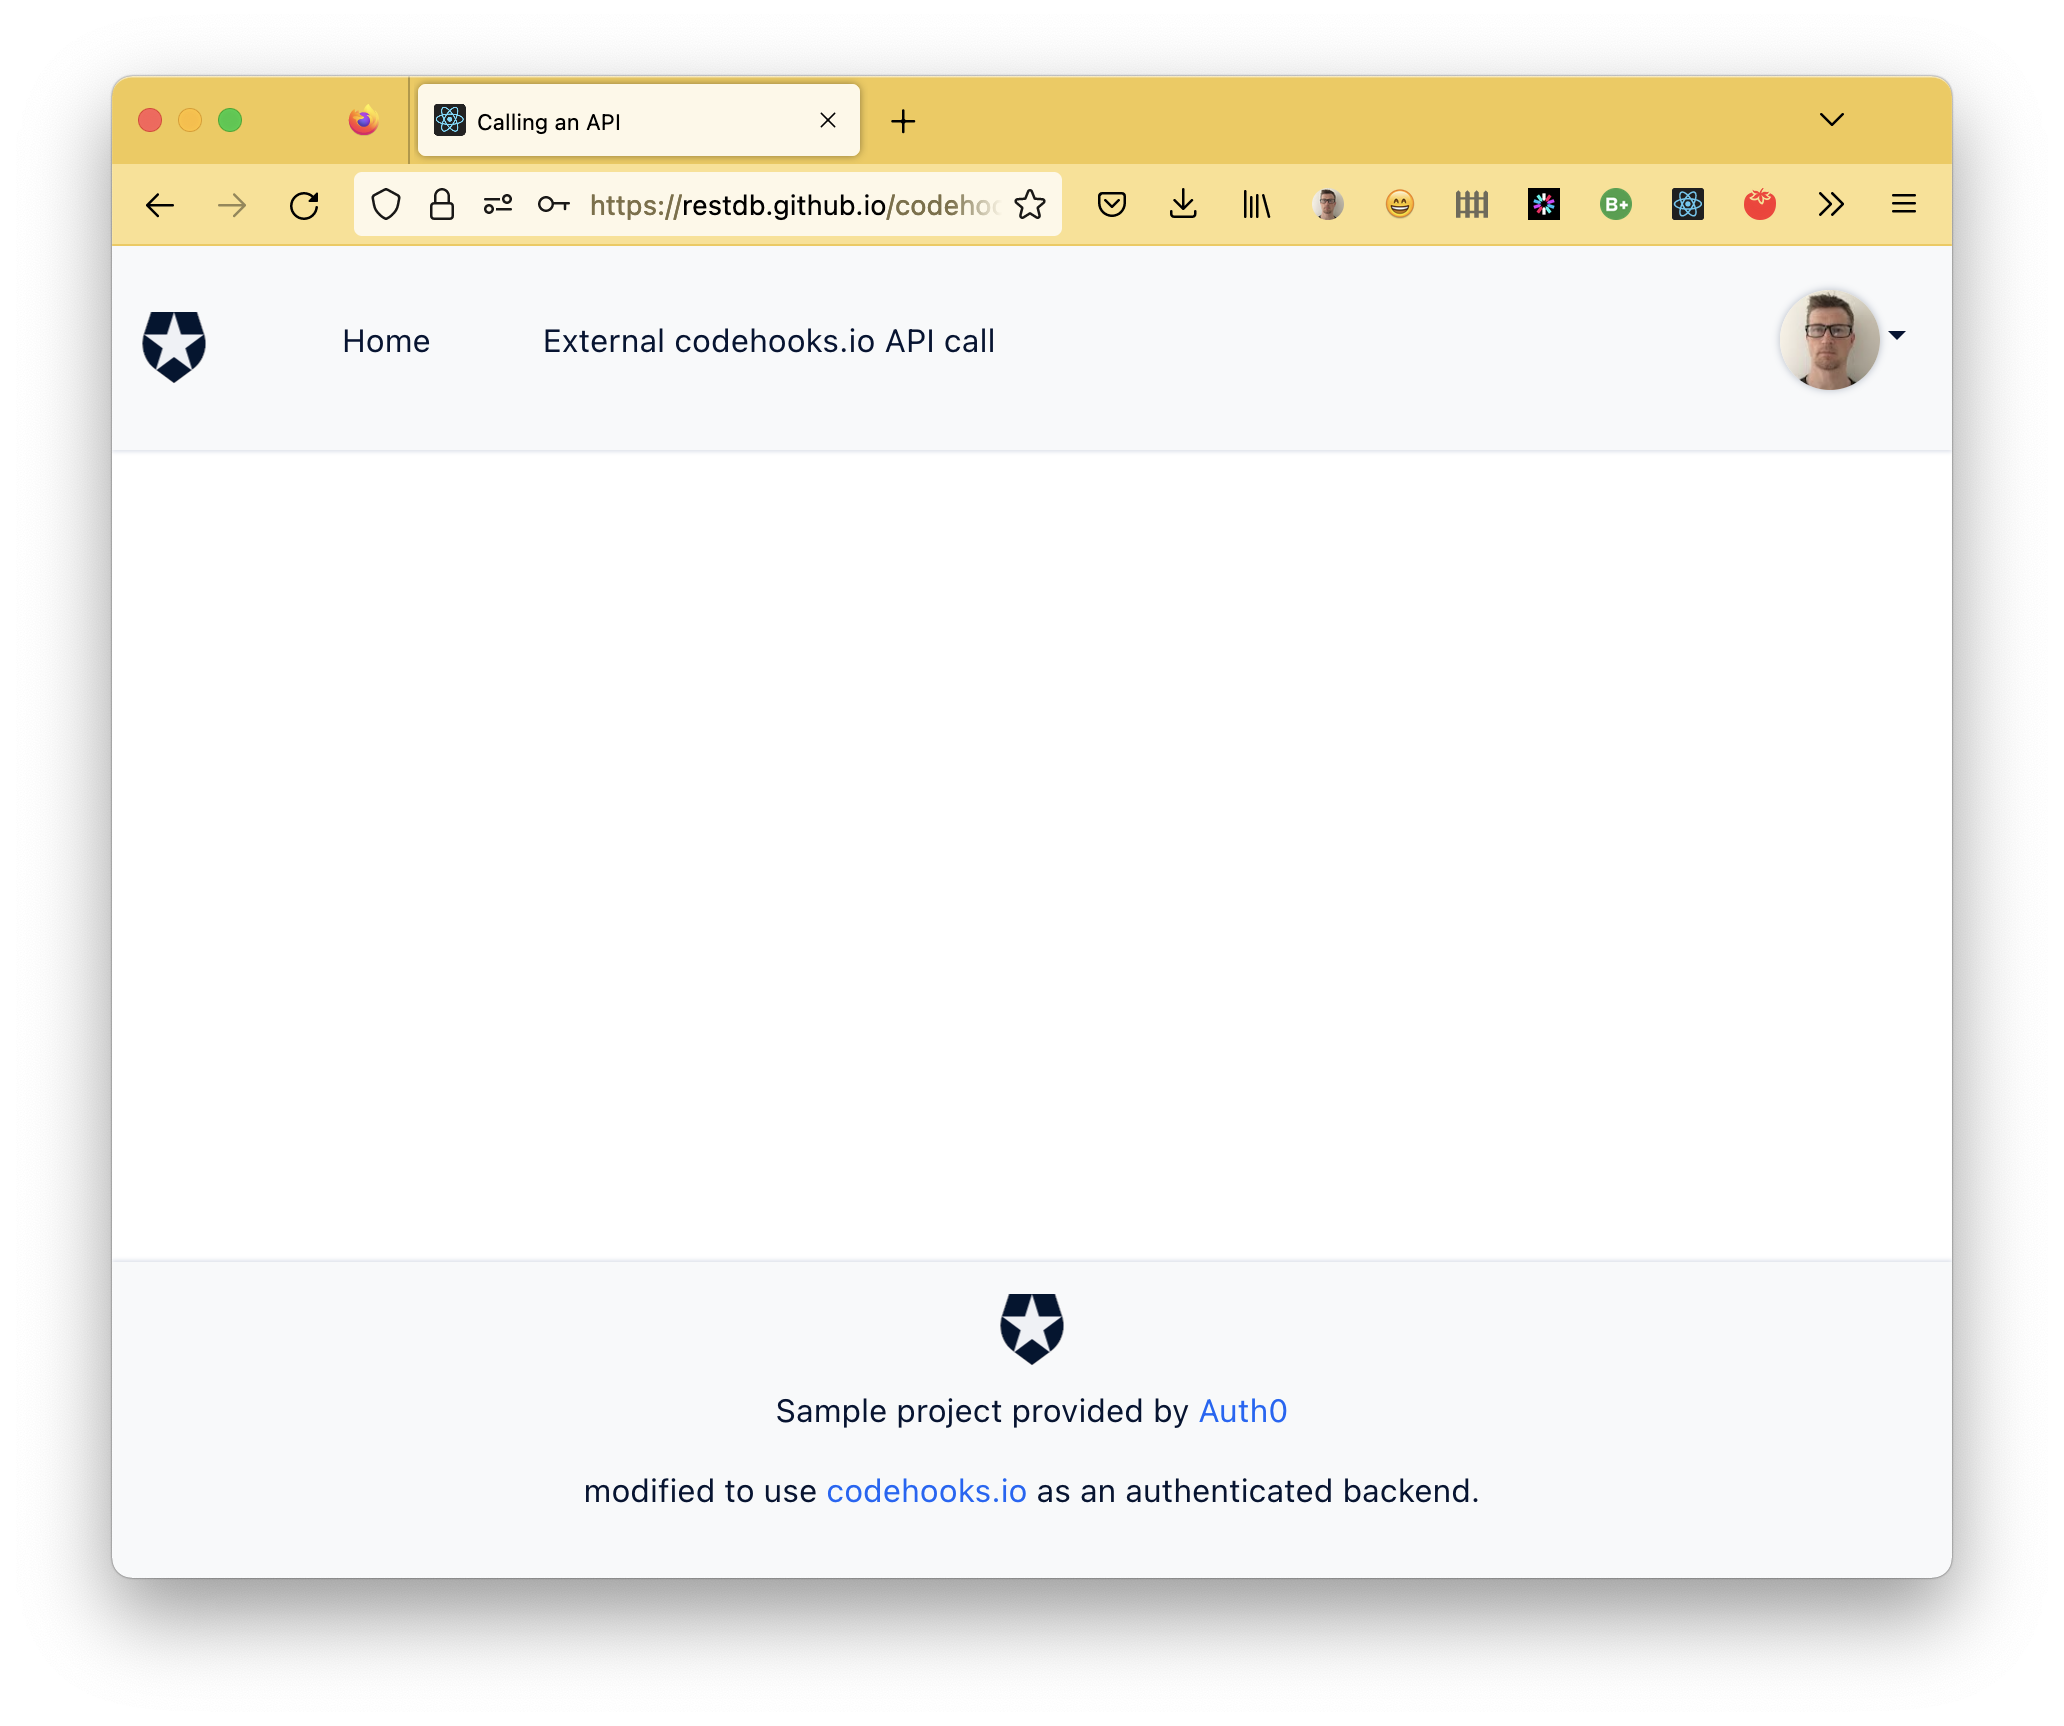
You should now see your own avatar in the top right menu and a menu option saying "External codehooks.io API call".
When you click this menu, you'll end up here:
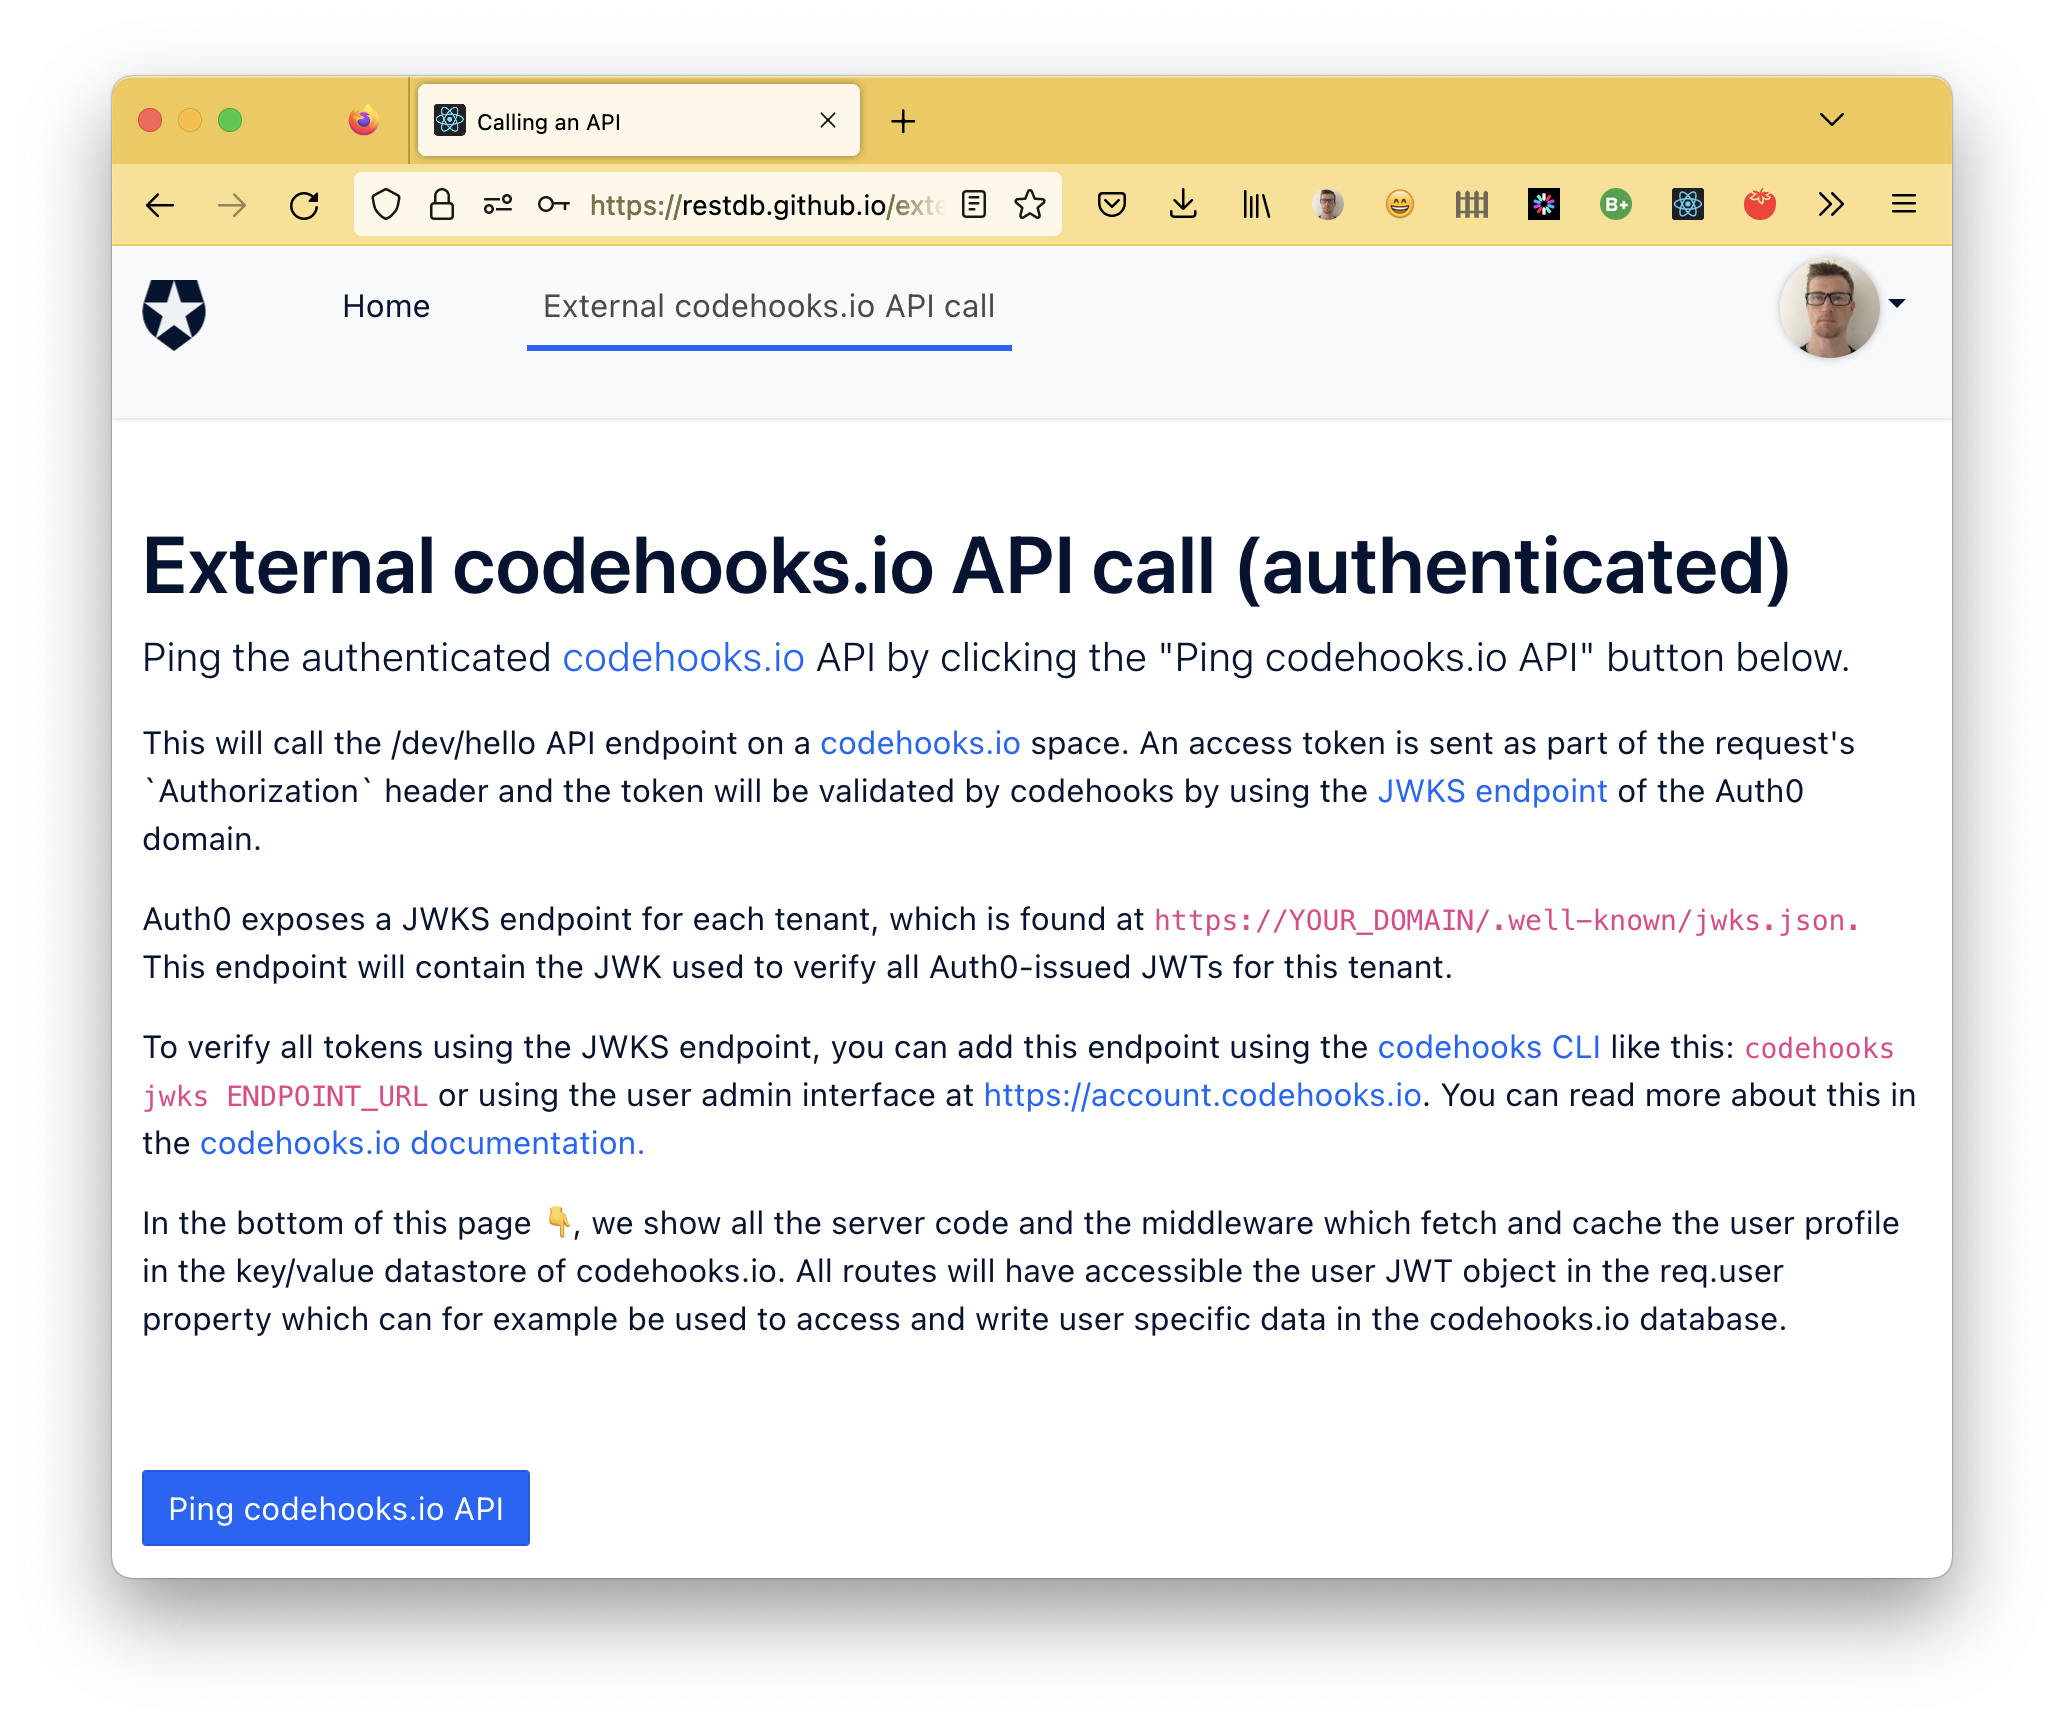
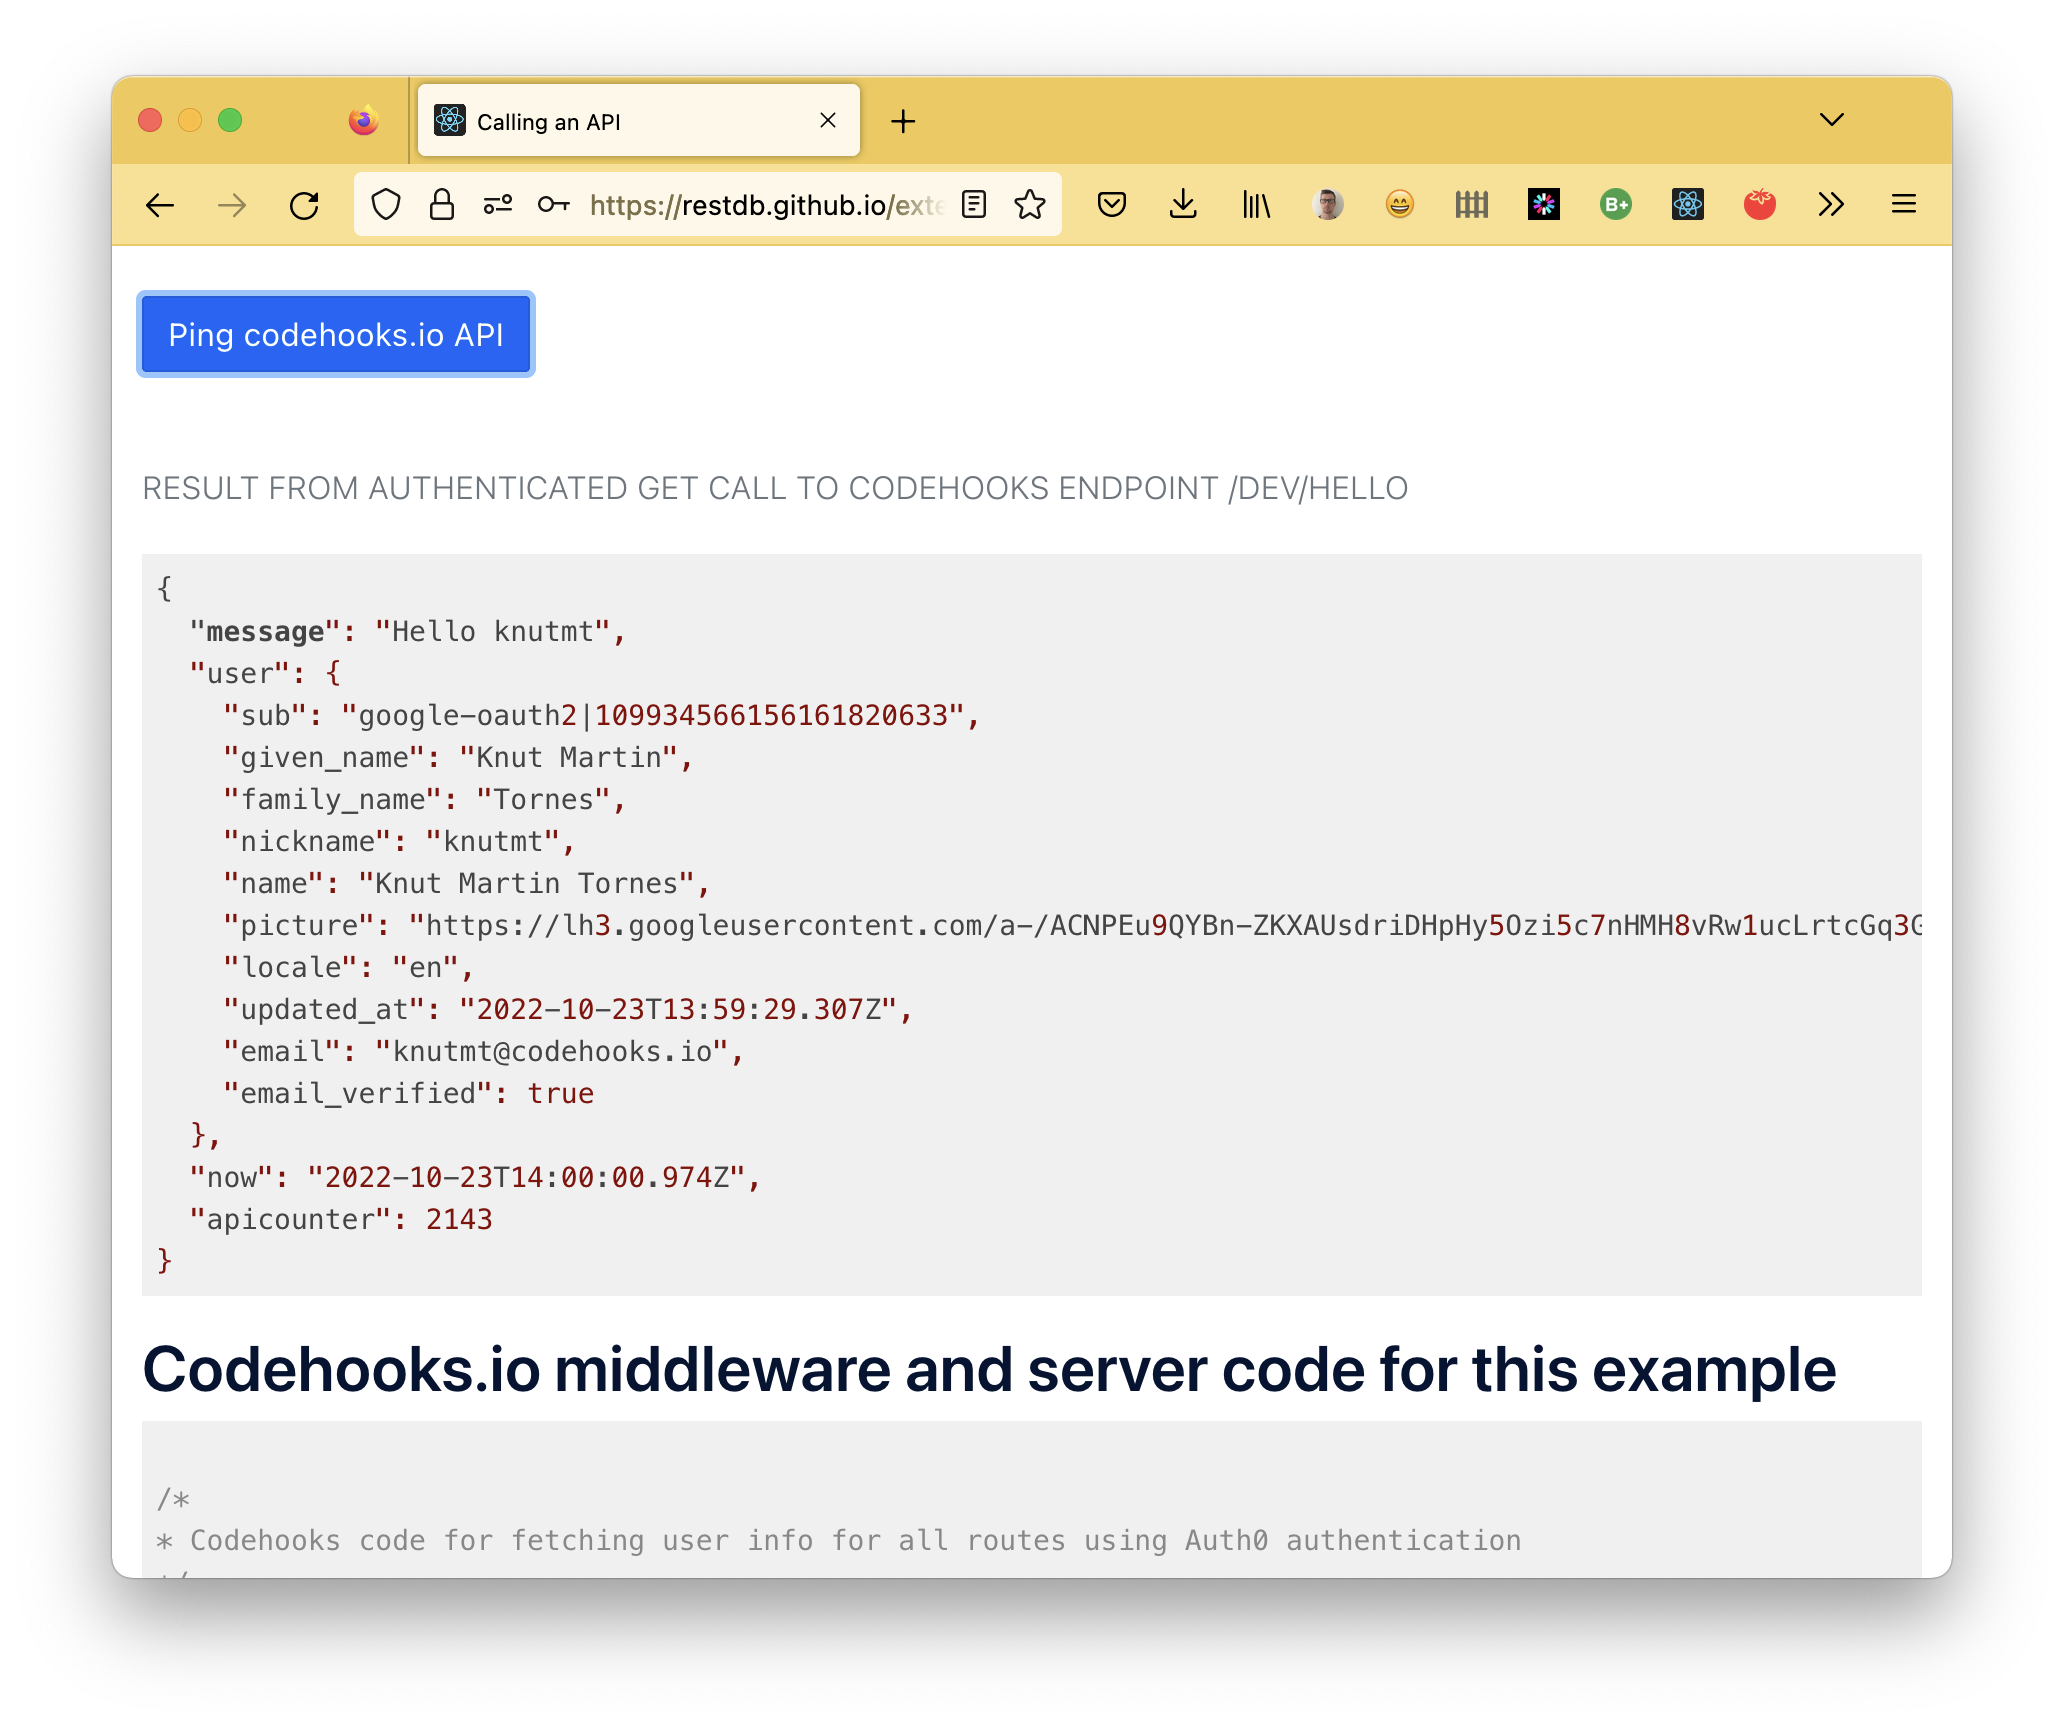
Clicking the "Ping codehooks.io API" button should show you something like the image below. We see the result of our API call to our authenticated /dev/hello endpoint of our codehooks.io space.
You can test the demo application yourself here. Sign up and log in with a social account or use email/password.
You can find the source for the React client and codehooks.io serverless database backend here on GitHub.
Summary
We've demonstrated how to authenticate a JavaScript / React app against a serverless backend API using the flexible Auth0 authentication service.
Key takeaways:
- Auth0 is easy to use and provides working sample applications for Angular, React, Vue JS and plain JavaScript.
- Verification of JWT tokens using public JWKS (RS256) can be set up with a simple URL on codehooks.io.
- A simple middleware function can provide a user context for all codehooks serverless API routes.
- A user context object available for all API calls makes it easy to create APIs which which store and fetch user specific data from the built-in codehooks.io database or key/value storage (or any other source).
- You can copy this middleware function and use in your own projects as is.
