React backend example
How do you set up an easy backend for React? In this example we'll create a simple React app front-end with a Node.js codehooks.io backend API and database. The main objective of this example is to learn how to use codehooks.io as an API backend for your React app.
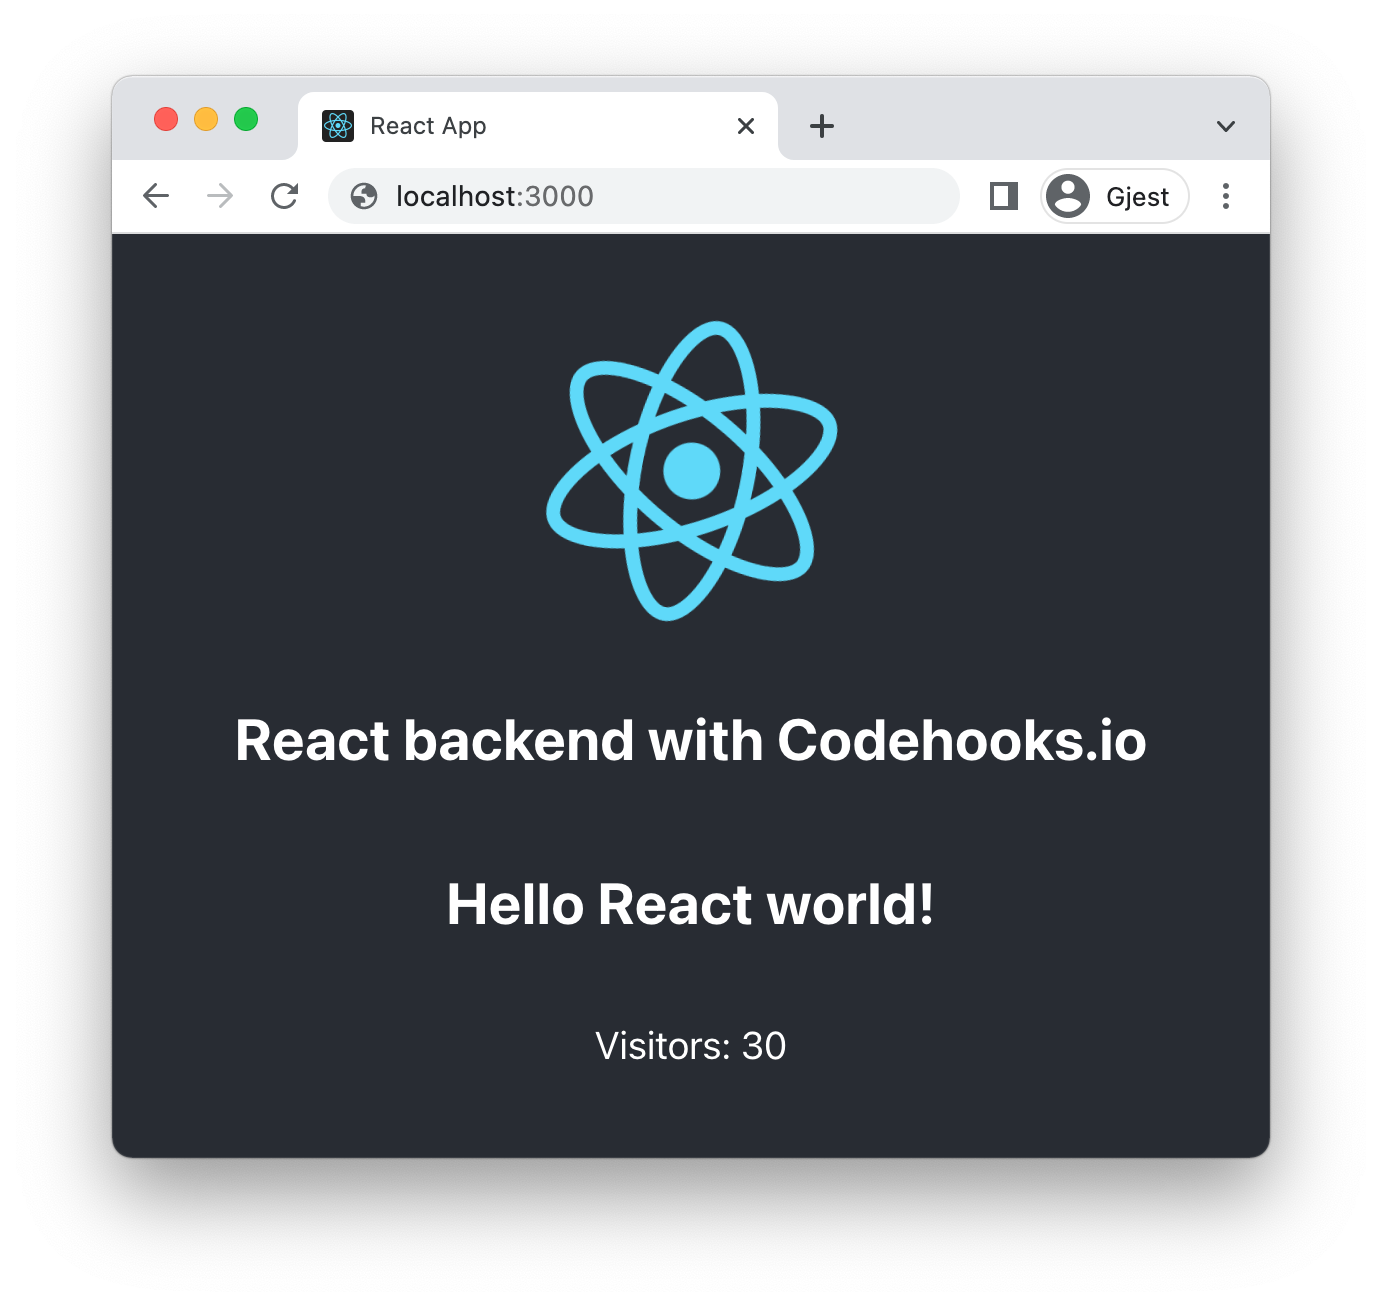
The output of the React example app is shown in the screen shot below. The "Hello React world!" text and the visitor count is fetched by calling the backend REST API:
Read on to learn how to create a simple React app front-end and backend application.
Create the React example app
We'll be using the standard create-react-app to kick-start our React example app development.
Run the following commands from your command line:
npx create-react-app react-backend-example

cd react-backend-example
You can also clone the GitHub repo
git clone https://github.com/RestDB/codehooks-io-examples.git
The boilerplate React example app is now generated in your application directory.
Then open the src/App.js file in your favorite code editor (some prefer VS Code and others like Vim 🥔 🍅) and replace the default generated code with the React code example shown below. If you read the code comments you'll get a pretty good idea of what's going on.
import React, { useState, useEffect } from 'react';
import logo from './logo.svg';
import './App.css';

// React backend API endpoint and API token
// REPLACE WITH YOURS
const API_ENDPOINT = 'https://reactback-nyly.api.codehooks.io/dev/hello';
const API_KEY = 'a4679c85-b4c8-49fb-b8ac-63230b269dd7';

function App() {
  // Application state variables
  const [visits, setVisits] = useState(null);
  const [message, setMessage] = useState(null);

  useEffect(()=>{
    // Call Codehooks backend API
    const fetchData = async () => {
      const response = await fetch(API_ENDPOINT, {
        method: "GET",
        headers: { "x-apikey": API_KEY }
      });
      const data = await response.json();
      // Change application state and reload
      setMessage(data.message);
      setVisits(data.visits);
    }
    fetchData();
  },[])

  return (
    <div className="App">
        <header className="App-header">
          <img src={logo} className="App-logo" alt="logo" />
          <h2>
            React backend with Codehooks.io
          </h2>
          <h2 style={{height: '50px'}} className="heading">
            {message || ''}
          </h2>
          <p>
            Visitors: {visits || '---'}
          </p>
        </header>
      </div>
  );
}

export default App;
The React app is almost ready, we just have to create the backend API and database that serve the content of the message and visits variables.
Create the React backend API
The React backend JavaScript example code is located in the index.js file in the reactback directory. The complete code (14 lines and zero config) for the backend API and database is shown below:
// React backend example app
import { app, Datastore } from 'codehooks-js'

// REST API
app.get('/hello', async (req, res) => {
  const db = await Datastore.open();
  // increment visit counter in key-value database
  const visits  = await db.incr('hits', 1);
  res.json({ "message": "Hello React world!", "visits": visits });
});

// bind to serverless runtime
export default app.init();
Now that we have the code for the backend API, we can create our new backend with the init CLI command.
Sign up for a new account and create your first project.
Next you need to install the CLI.
npm install -g codehooks
Then run the init command, this lets you select a project and environment for your new backend code.
cd reactback
coho init
This command creates a new backend application in the reactback directory, replace the generated index.js code with our code from the above index.js.
Before we can deploy our React backend to the cloud, we must add our npm package dependencies, in this simple example we just have to add the codehooks-js package:
npm i codehooks-js
# deploy the backend application to the codehooks.io cloud service
coho deploy
We also need a read-only API_KEY key for secure access to our API from the React example app, the add-token command fixes this:
coho add-token --readonly
You can also add tokens, set environment variables and more for the backend using the UI at account.codehooks.io
To view our API endpoint and API token(s) we run the info command. If we also add the --examples parameters the CLI will generate example curl commands to test our API 🤖. Command example output is shown below:
coho info --examples
Project name: reactback-nyly
Team: Eric Jones (personal account)

API endpoint:  https://reactback-nyly.api.codehooks.io/dev

Examples in cURL:

curl https://reactback-nyly.api.codehooks.io/dev/myroute -H 'x-apikey: a4679c85-b4c8-49fb-b8ac-63230b269dd7' -H 'Content-Type: application/json'

curl --request POST https://reactback-nyly.api.codehooks.io/dev/myroute -H 'x-apikey: <apikey>' -H 'Content-Type: application/json' --data-raw '{"name": "Mr. Code Hooks", "active": true }'

Spaces:
┌──────────────┬───────────────────────────────────────────┬───────────────┬──────┬──────┐
│ Name         │  Tokens                                   │ Allowed Hosts │ Jwks │  Env │
├──────────────┼───────────────────────────────────────────┼───────────────┼──────┼──────┤
│ dev (active) │ a4679c85-b4c8-49fb-b8ac-63230b269dd7 (R)  │               │      │      │
└──────────────┴───────────────────────────────────────────┴───────────────┴──────┴──────┘
Replace the following variables in the React App.js file with yours from the info command output:
const API_ENDPOINT = 'https://<yourapp>.api.codehooks.io/dev/hello';
const API_KEY = '<your read only API token>';
Start your React app
We are now ready to start the React example app. From the root directory of your React app run the npm start command:
npm start

# your app runs at http://localhost:3000/
Changing your React backend code is easy
Having the data pipeline up and ready between the React app and the backend API makes it easy to make changes and re-deploy your application. If you make changes in the backend code, there is only 1 step you need to do:
- From the backend app directory
reactback, run thecoho deploycommand again and the changes to your React backend API are applied immediately 🔥
Summary
Creating a React front-end and backend application is quite easy. Using your favorite tools together with effective CLI commands is a good workflow that supports rapid iterations and faster development.
Full source code is available on GitHub here.
Happy coding!